Presentations
The recommendations on this page aim to help you create accessible collaborative or static presentations and slides.
On this page
- Slide Text
- Titles and Headings
- Colour Contrast
- Graphics
- Videos
- Hyperlinks
- Document Properties
- Accessibility Checker
Slide Text
Reduce the quantity of text on a slide, focussing on key information, activity instructions and a blend of visual and written content. Increase the font to a minimum of 18 pt. and test out visibility in the classroom.
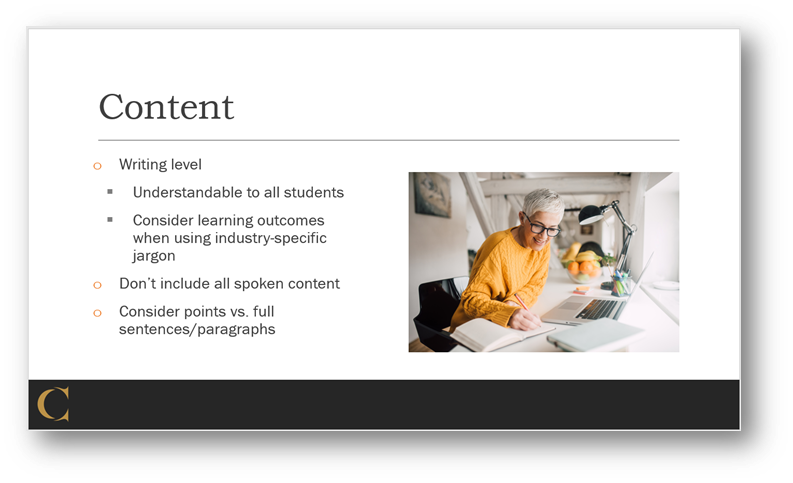
If you need to present a lot of text, use animations to present one paragraph at a time. Read aloud paragraphs as you present them to students. Allow students time to process what they have read.
To help reduce text on a slide, use the presenter’s notes. The slide itself can describe key points, active learning tasks, and visual anchors. If using the presenter’s notes, it is recommended to use two monitors and change your display settings to extend your screen to see all content. This can be done on both Windows and Mac OS devices.
Text Boxes
Wherever possible, avoid using text boxes. These are inaccessible to users of assistive tech. Reserve text boxes to be used to add references or citations to images, and make sure to Group the text box with the image so that the alt text supports both.
Titles and Headings
Headings come pre-built on slides in most presentation software through slide titles and sections of content within the slides. These pre-formatted slides make the slides navigable for screen readers. Wherever possible, use the pre-built slide layouts.
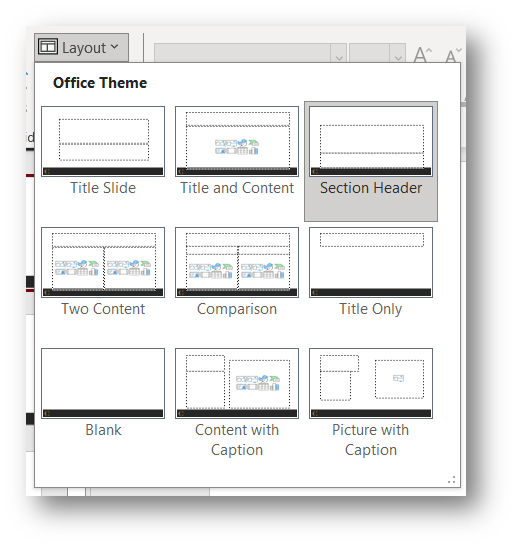
You can move or rearrange the title and content boxes to match your design plan. However, avoid the Blank slide type which has no designated readable spaces. At a minimum, a slide always requires a title.
Make presentation-wide changes to the Styling and Headings in the Slide Master view. This view allows you to efficiently make sweeping changes to text, themes, and styling. To access the Slide Master view:
- In PowerPoint, click the View tab.
- In the Master Views section, choose Slide Master.
- Once there, select the top-most slide – this is the overall slide master.
- Changes here impact all other slides.

While in the Slide Master view, make changes to:
- the master layout of each slide layout you can build;
- the theme – bring in the template you downloaded or choose something simple;
- the font style (Arial, Calibri, or another sans serif font);
- the font size of each level of text (at a minimum 18 pt);
- any other universal components.
Then, close the Master view. The changes will be applied across the presentation. Learn more about working with Slide Masters in MS PowerPoint.
Colour Contrast
Choose a slide design with a simple, high-contrast colour combination and design. Safe colour schemes are white, black, medium blue, and orange. Generally, a dark text colour over a light background (or vice versa) will result in an effective design.
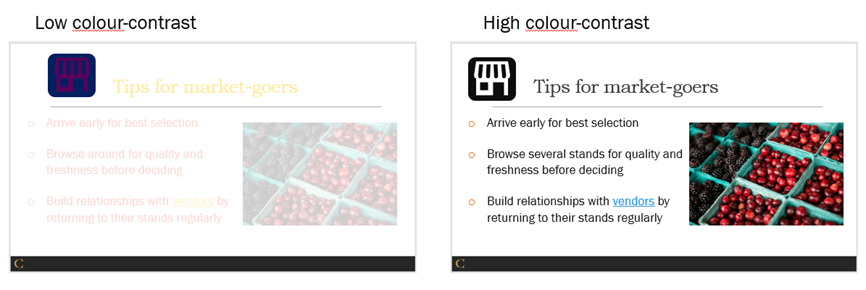
If you use colour often, you’ll want to use a colour contrast checker to ensure your slides are readable. Learn more about using colour contrast checkers.
Graphics
While visually appealing slides benefit learners, be cautious not only to provide information visually. This section provides advice on key information to remember when adding graphics to your slides.
Alt-Text
All visuals and images require alt text, and often, captions can be a helpful addition. To add alt text, right-click any image or graphic and select View Alt Text. Alt text should contain 2-3 descriptive sentences which explain the image. Learn more about writing effective alt-text.

Smart Art
SmartArt often poses challenges to accessibility and should be used sparingly. If you do want to use SmartArt for visual effects, make them accessible by adding appropriate alt-text or by replacing the SmartArt with a screenshot of the finished product with accompanying alt-text.
Annotations
When “pointing out” things on a slide, avoid using shapes like arrows, boxes, or stars that have been animated to appear on click. Instead, use built-in drawing tools in PowerPoint or your preferred presentation software.
Videos
Embed videos in presentations to create a smoother viewing experience for learners. Ensure any videos selected have closed captions visible when played.

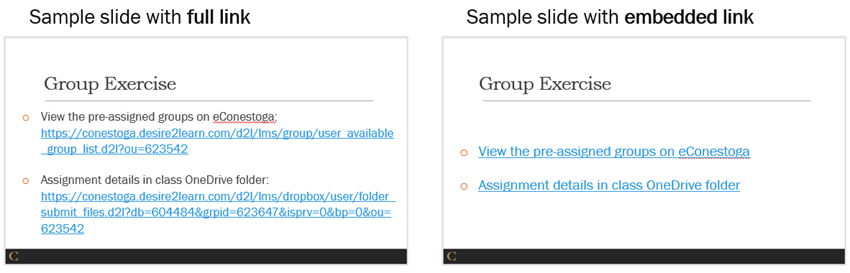
Hyperlinks
Rather than pasting full urls for hyperlinks, it is recommended to embed these links within relevant, descriptive text. This makes the slides more visually appealing, removes unnecessary clutter, and ensures folks using accessibility software can interpret the information. See the below example for the same content with full urls (left) compared to a slide with hyperlinks embedded directly in relevant text:
Document Properties
Add a meaningful title and suitable tags to the document properties. This provides clear information about the documents people access and gives context for screen readers and search engines. In most document processing software, the document properties are part of the File information.
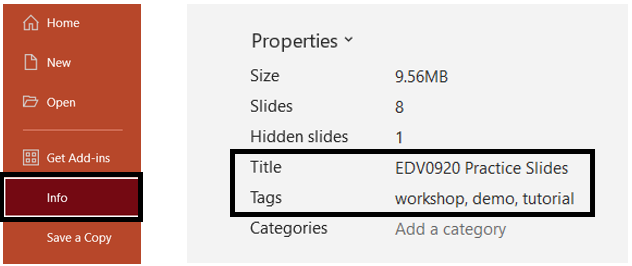
A title is most important, as it provides the user with the document’s name; otherwise, a screen reader program will read off the file name, which is not always descriptive. You can also add tags and comments for further information about the file, which may help with additional context, effective sorting, and accurate search results.
When saving a document, always try to use the newest versions of the relevant document type (i.e. .pptx rather than .ppt) to ensure the files are compatible with current software.
Accessibility Checker
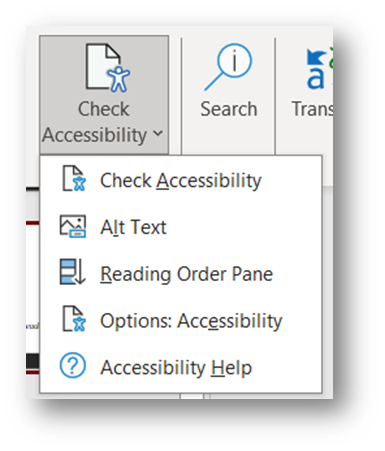
Use the Check Accessibility tool on each presentation. For example, in MS PowerPoint:
- In the Review tab, Check Accessibility.
- A window will open with any unresolved issues.
- Ensure all Errors and Warnings are resolved; Tips do not need to be resolved.