Live Action Video
These tips were compiled collaboratively by experienced members of the Online Learning Center, Library Services and Teaching and Learning. Thank you particularly to Jessie D’Uva and Jake Morris (OLC) for their expertise.
Get Ready to Record
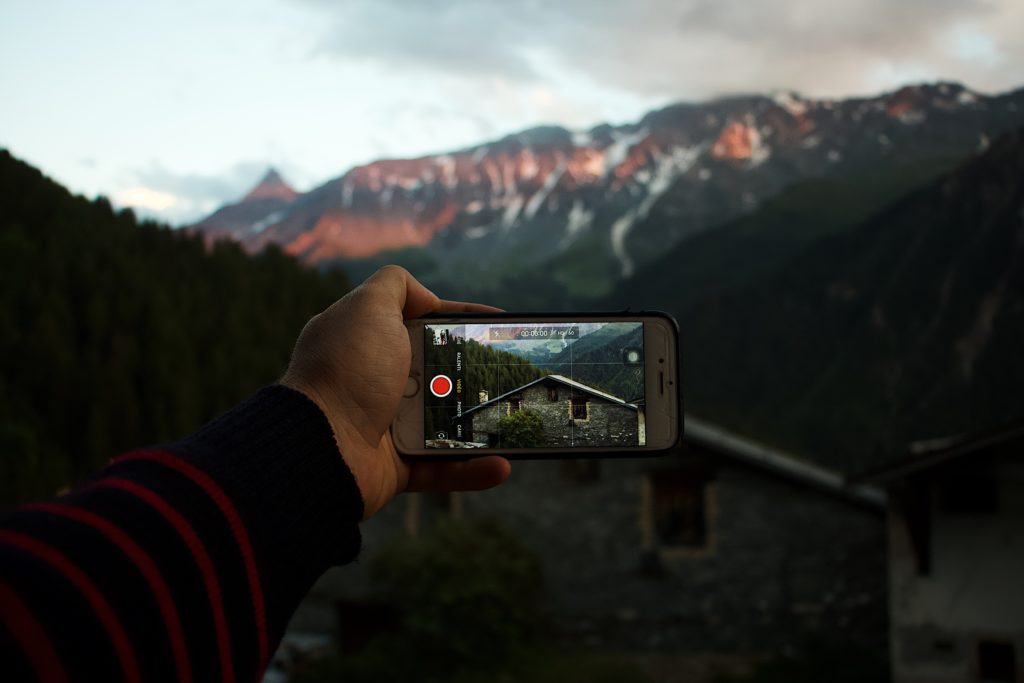
Get started with building your own live action videos, with your own phone, tablet, laptop or camera. Use the camera app on your device, or record directly into apps like Panopto.
Audio
Find a quiet spot. If you like, book a meeting room or find a quiet space. Mute your phone’s ringer. Minimize any background noise, such as traffic, pets or family.
Try to always use an external mic. You can:
- Use a headset or earbuds with a mic.
- Borrow one from the Library.
- Buy an inexpensive mic from any major retailer.
Have water nearby to keep your voice fresh and clear.
Video
Use your smartphone or laptop camera. The image and audio quality is often just as good, if not better, than a standalone camera, and this saves transferring the file around.
Use a tripod or mount it on a stable surface. Try to have the camera at eye level, not looking upward or downward. Shaky video and odd angles can disorient your viewers. You can:
- Use whatever you have handy, like books or boxes.
- Borrow a tripod from the Library.
- Buy an inexpensive mini tripod from any major retailer.
Make sure the lighting is bright.
Do a 10-15 second test video to check video and sound quality. Replay and listen to see how it’s working.
When Recording
- Speak clearly and with good projection – use your classroom voice.
- Record a max of 3 to 5 minutes. Chunking video supports learning and helps learners choose what they actually need to re-learn
- Don’t be scared to do a retake. Just stop the video, and then pick it back up, or start over again. It’ll feel more comfortable over time.
- Once you’re happy, edit the video if you like, or just upload, caption and share in your course.


